How to run ads on ChatGPT, step by step
To advertise on ChatGPT, sign up at ads.openai.com with a business based in a supported country, add a card and verify the account. Create a campaign with a goal and at least $25 a day, describe the chats you want in each ad group's context hints, add several ads that link to a matching page, then submit them for review.
- Where you buy
- OpenAI Ads Manager
- Minimum budget
- $25 a day in the US
- Before ads run
- Review, billing and verification
Set up your first ChatGPT ad campaign
Check that your business can buy
Self-serve Ads Manager is open in nearly 90 countries, and the business that advertises and pays has to be based in one of them. You can open an account from anywhere; OpenAI emails you when your country opens. Big advertisers can also buy through OpenAI's sales team or an agency partner.
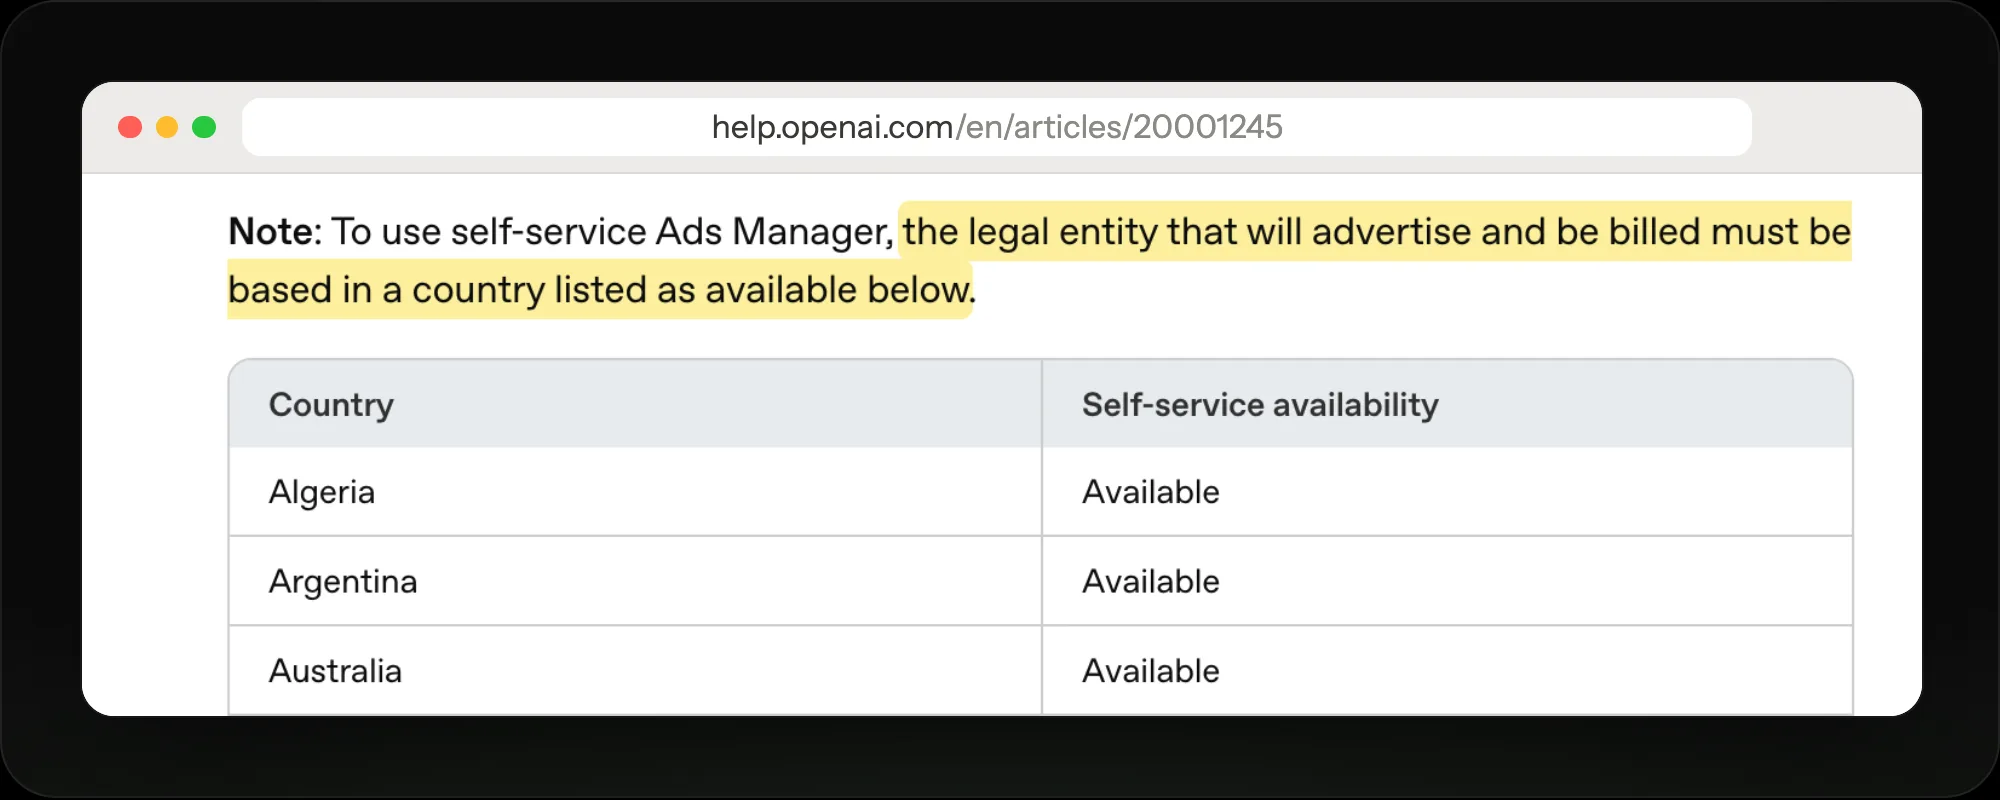
What counts is where your billed business is registered, not where your customers are.
Open your Ads Manager account
Sign in at ads.openai.com with an OpenAI account on your work email. Add your logo, a billing profile and a card, then finish business verification. Ads can't serve on an unverified account, so do this before you build campaigns. Invite anyone else who will edit or report on ads.
- Logo added in Settings
- Card and billing profile saved
- Business verification done
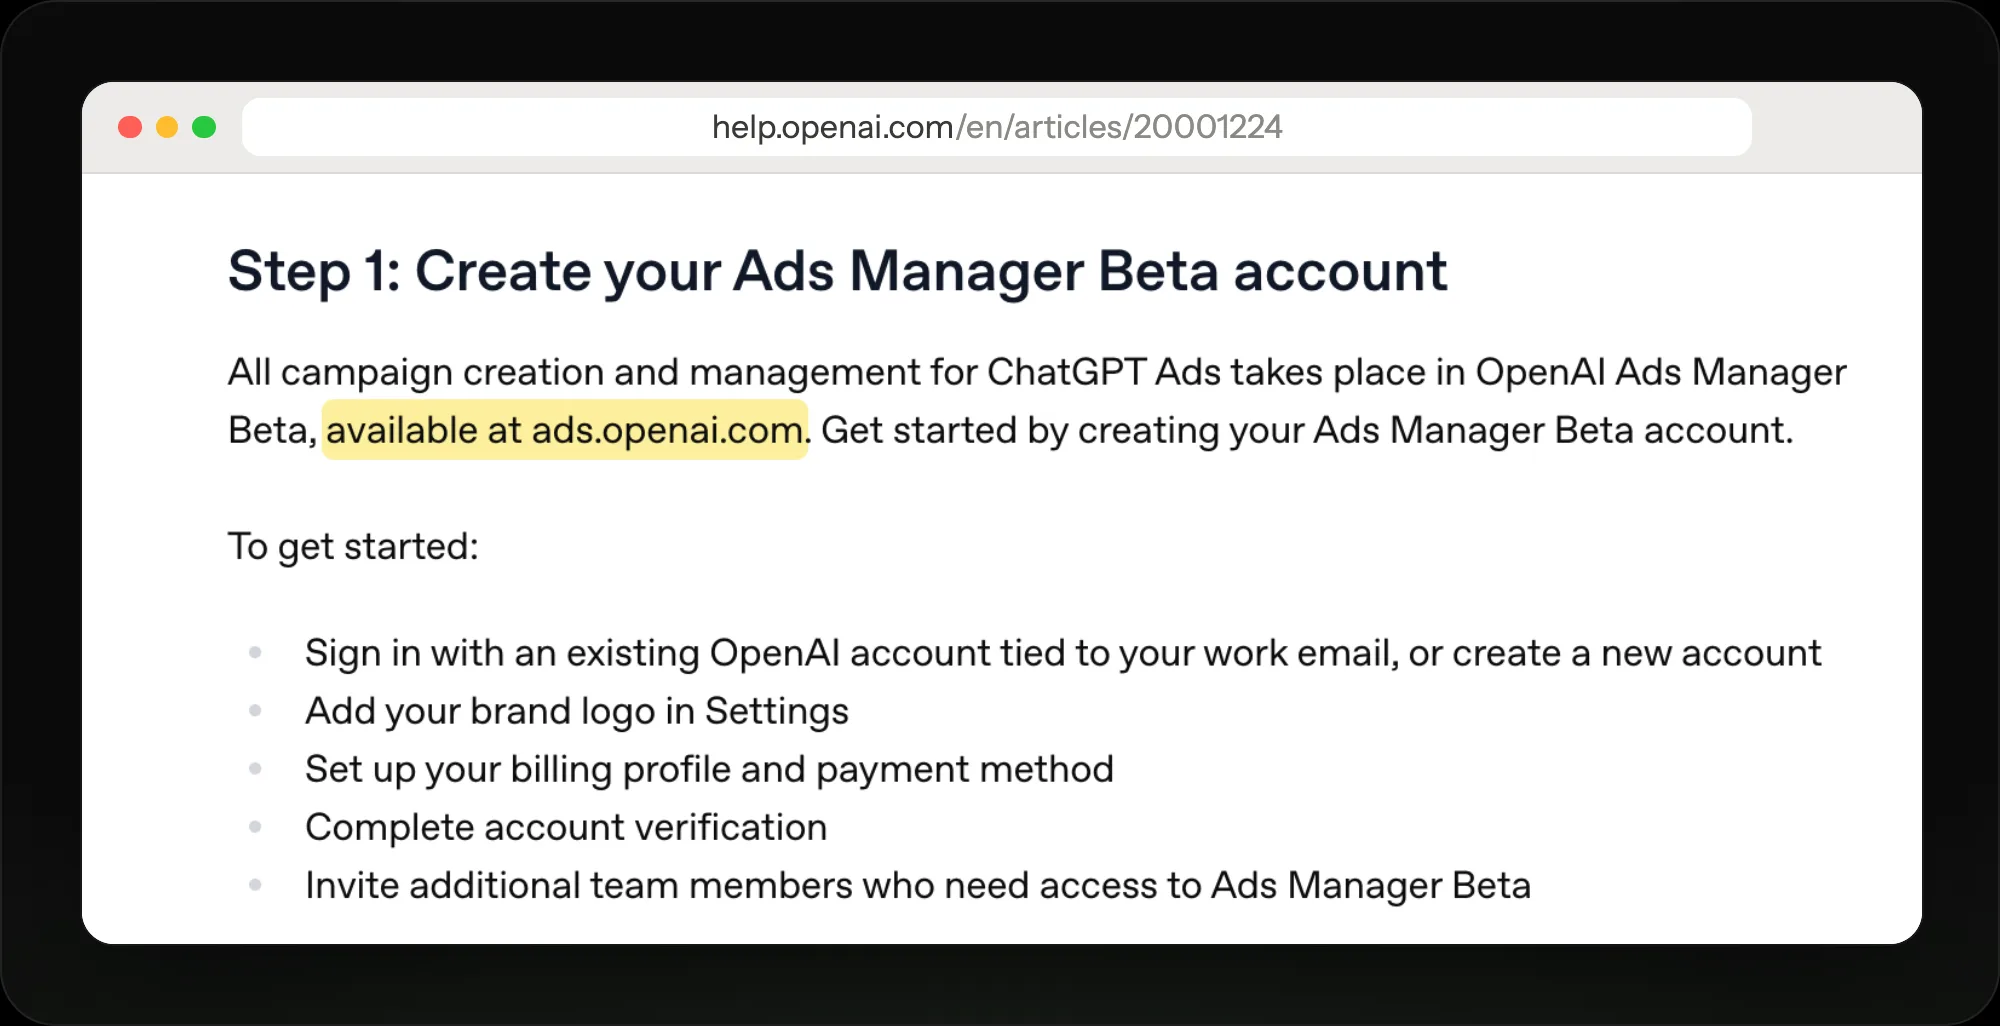
OpenAI's setup list: sign in with a work email, add your logo and billing, verify, then invite your team.
Let OpenAI's crawler reach your page
OpenAI visits every landing page to review it and to judge which chats it fits. Your site must allow the OAI-AdsBot crawler, and OpenAI recommends allowing OAI-SearchBot too. A robots.txt rule isn't always enough: bot protection on your CDN or firewall can block it with a challenge page.
Open the exact ad link, tracking tags included, follow every redirect and confirm the final page shows the product you're advertising. A 403, 404, 429 or blank page gets the ad rejected.
- OAI-AdsBot allowed
- Final URL shows the product
- No login or CAPTCHA wall
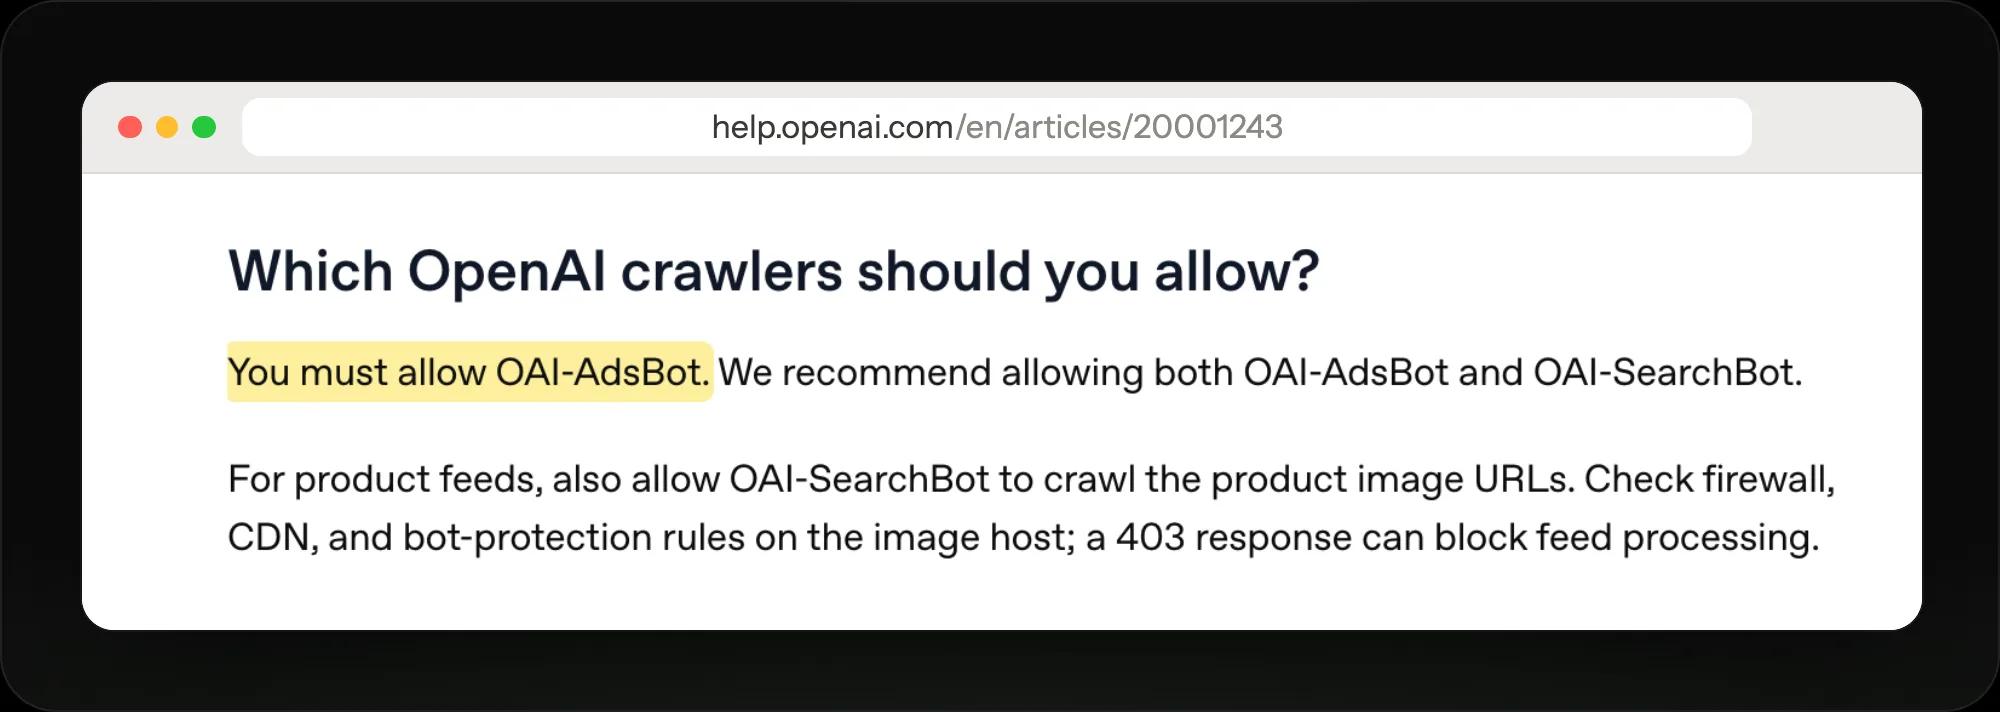
OAI-AdsBot is the one crawler OpenAI requires; block it and the ad can't pass review.
Pick a goal and a budget
Choose Reach to pay per 1,000 views, Clicks to pay per click, or Conversions to bid toward a purchase while still paying per click. The US minimum is $25 a day. A daily budget is an average over the week: one day can spend twice it, but the week never spends more than seven times it.
On your first campaign the start and end dates appear only after you publish. Don't publish just to reach them, because approved ads can start spending right away.
Describe the chats you want
Group ads by intent, one ad group per kind of conversation, and write context hints for each. Hints describe the topics and questions where your product helps, such as "training for a first marathon on a budget". They guide matching but aren't exact-match keywords, and they don't guarantee your ad shows in a given chat.
Write several ads per offer
OpenAI's system finds more chats to match when it has more distinct ads. Write several headlines and descriptions per product, each with its own angle, and say plainly what the product does and who it's for. Use one image, or four to six square images for the multi-image format.
Link each ad to the page that answers that chat, a product or collection page rather than your homepage, and add UTM tags to the link.
- Three or more ads per offer
- Each links a matching page
- UTM tags on every link
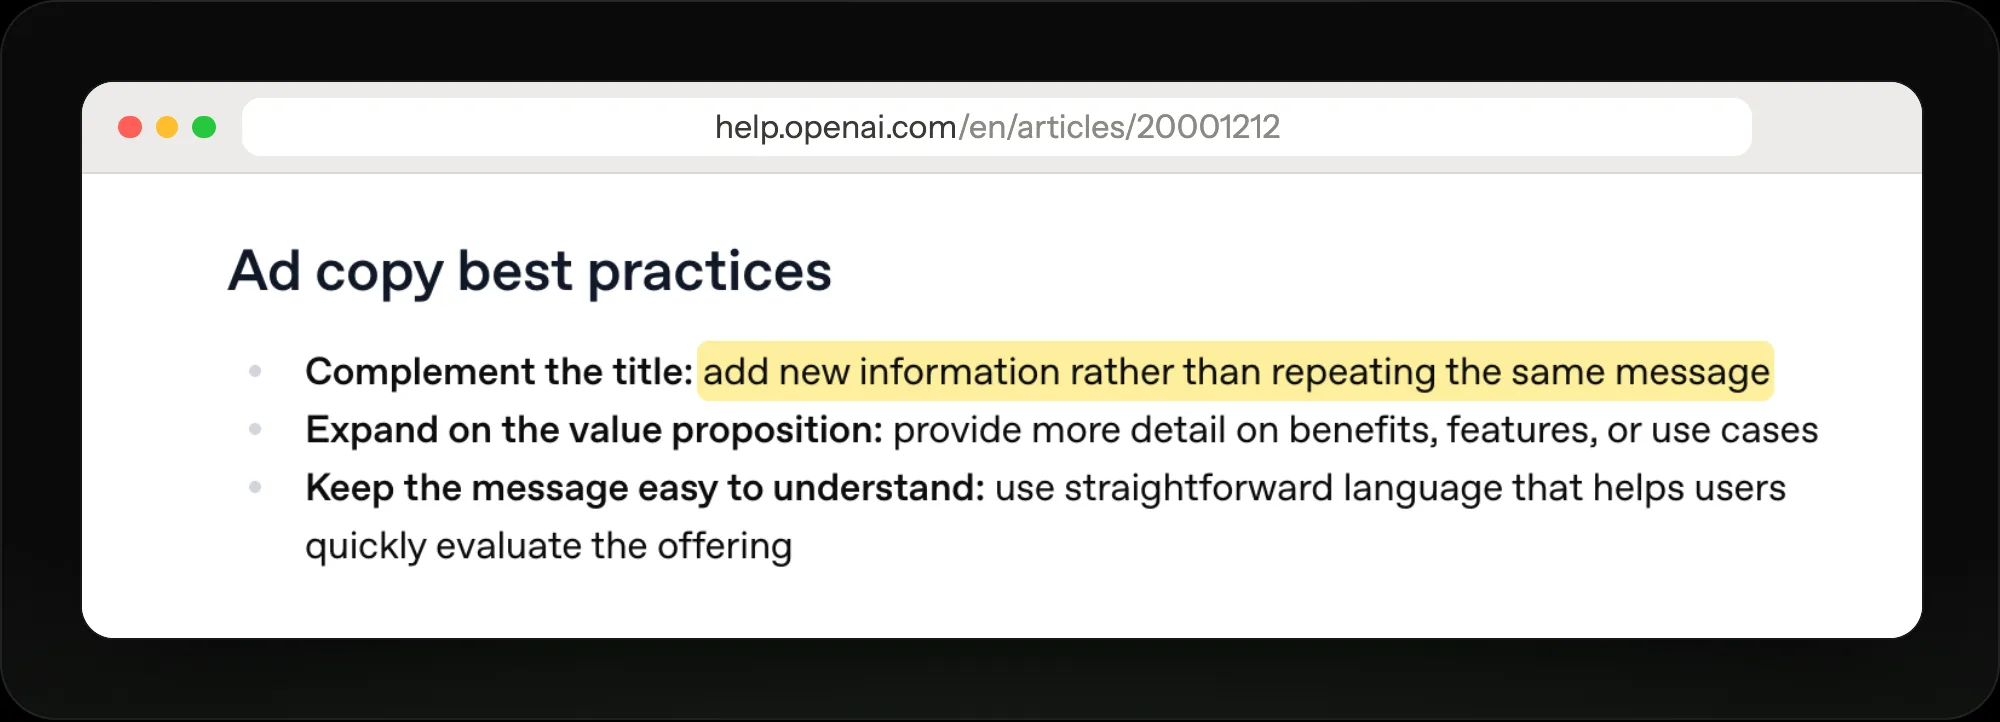
OpenAI wants the description to add something the headline didn't say.
Track sales, not just clicks
Install the OpenAI Pixel on your site and, if you can, send the same events from your server through the Conversions API with a shared event id so they aren't counted twice. OpenAI adds a click id, oppref, to every ad link; keep it through redirects. US Shopify stores can connect the ChatGPT Ads app to sync products and the pixel.
Launch, then read the results
Submit the campaign for review. If an ad shows Not serving, hover over the status to see why. Impressions, clicks and click-through rate refresh about every 15 minutes, but spend can lag 7 to 8 hours, so a $0 spend early on doesn't mean nothing was charged. Compare ad groups, then change the page each one opens.
Build the page your ad opens
Replo builds a landing page for each ad group on your brand, then A/B tests it against your current page.
The prompt Replo starts from
Build a landing page for my ChatGPT ad about [product]. It's for people asking ChatGPT [the question your context hints describe]. Lead with the answer to that question, show price, reviews and shipping, and keep one buy button above the fold.
Edit the words in brackets once Replo opens.
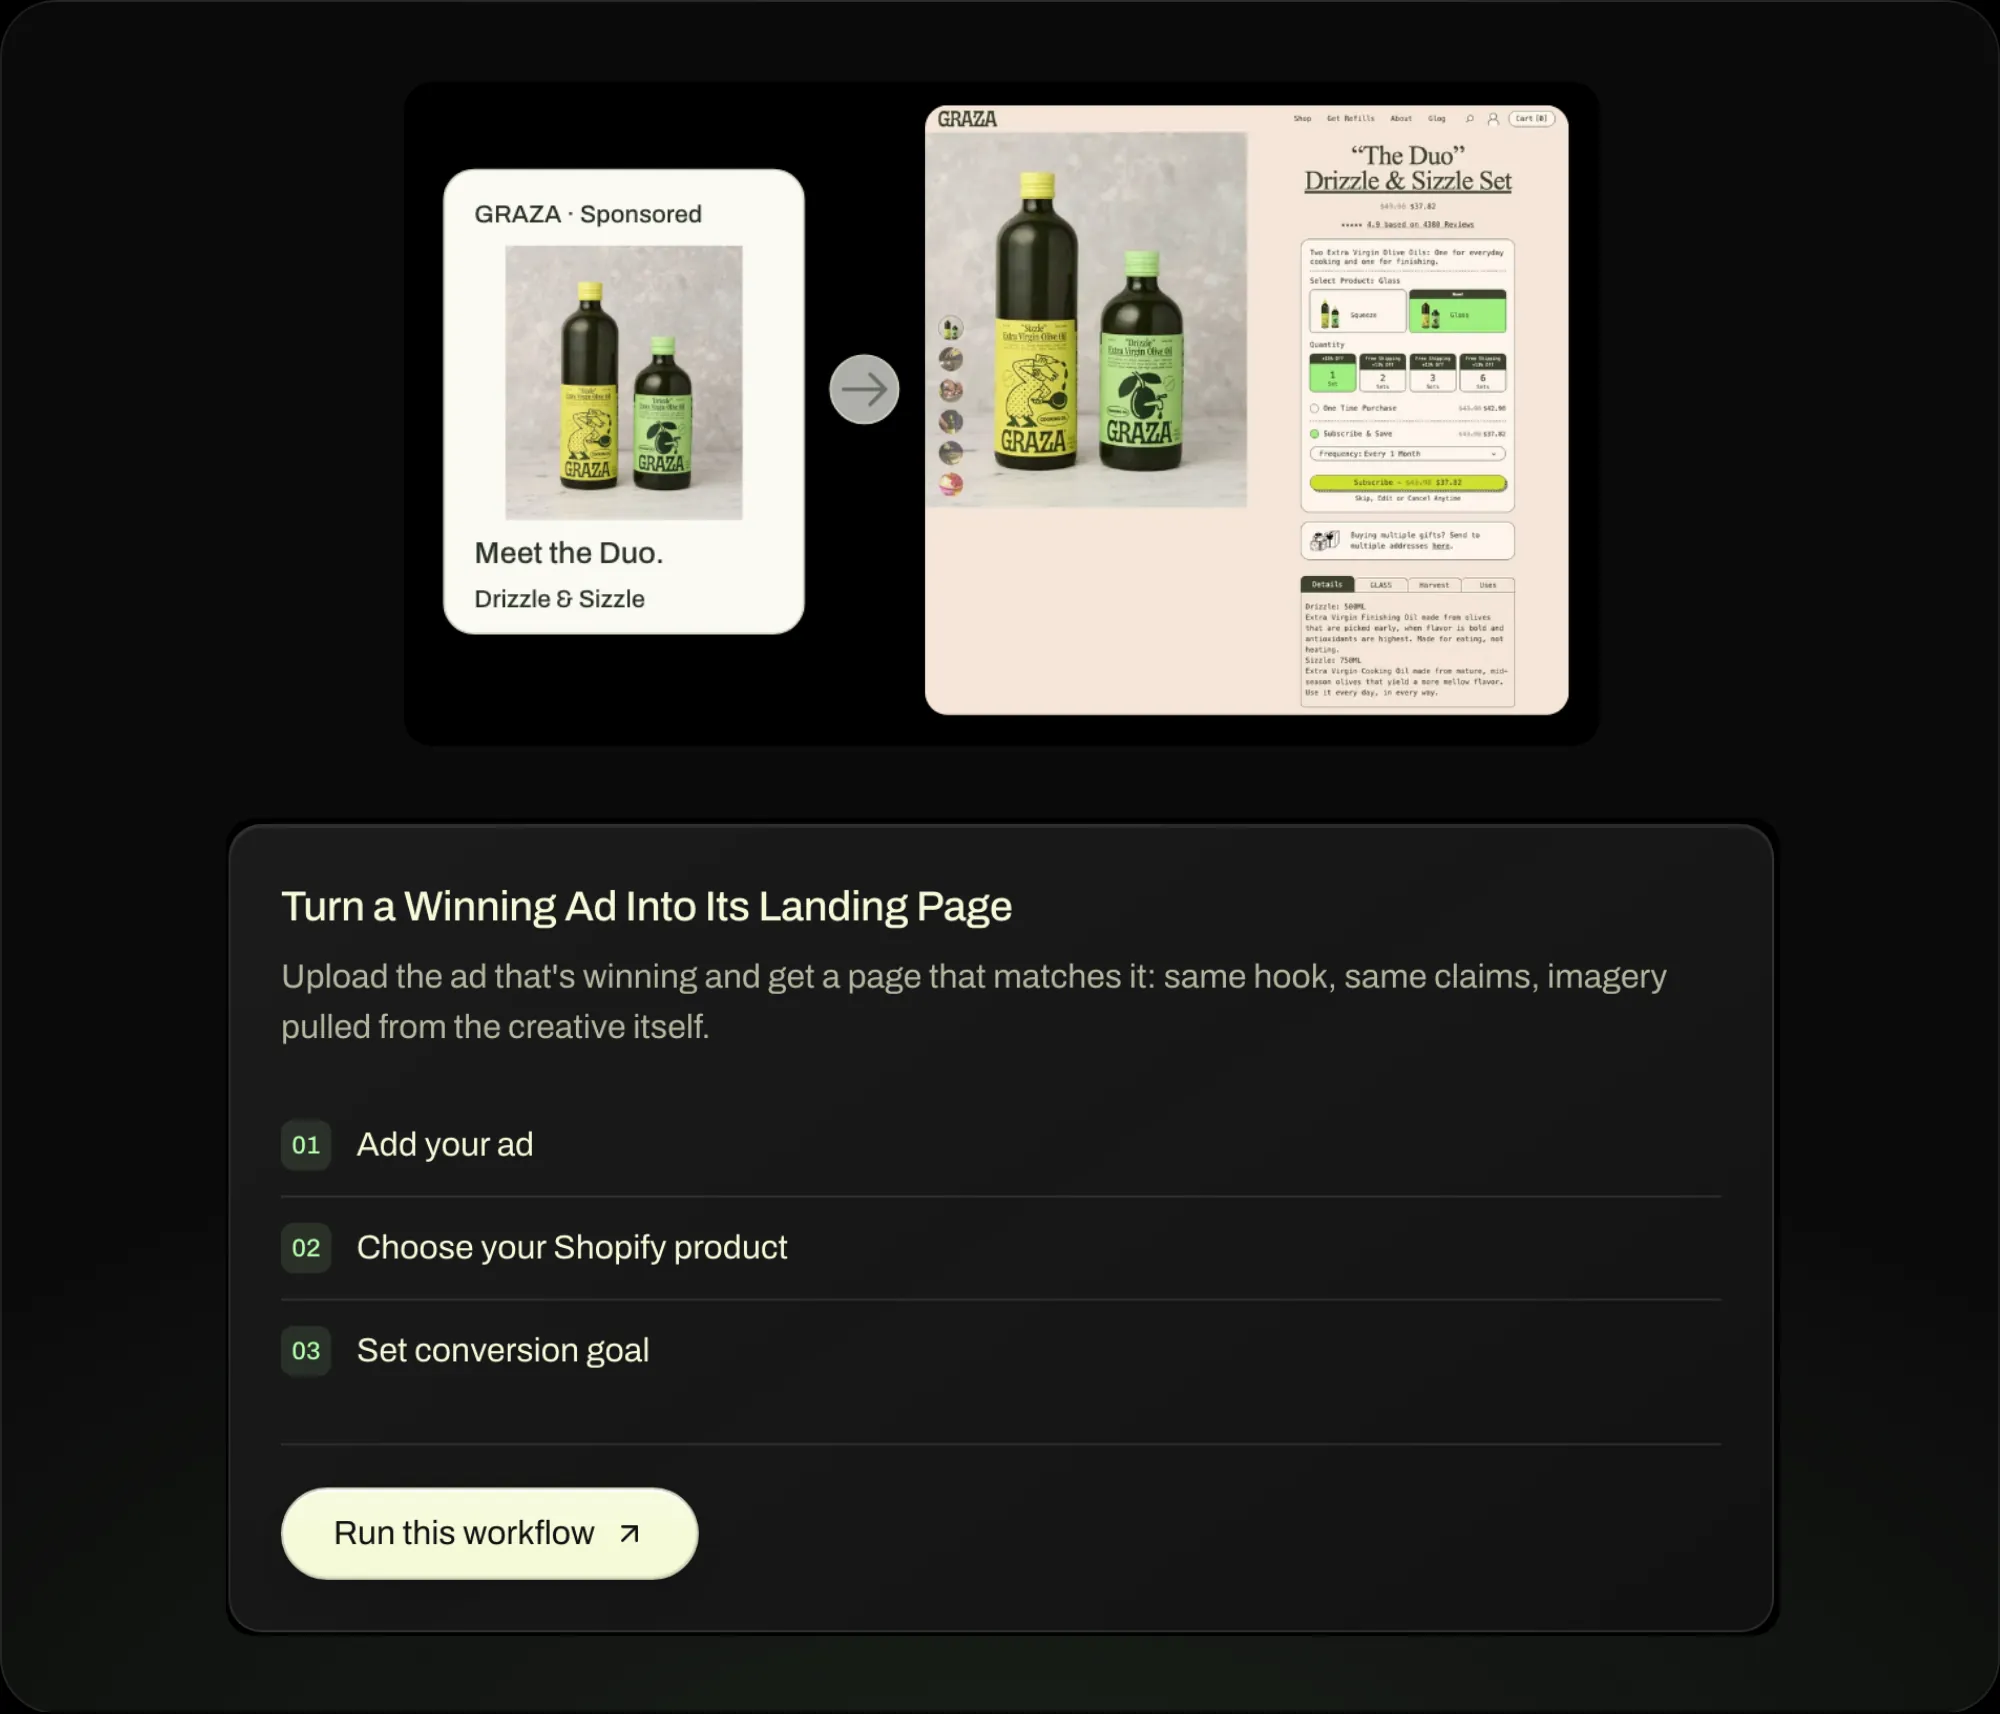
In Replo, add the ad and the product, and the page picks up the ad's hook and images.
Frequently asked questions
- How long does it take to start running ChatGPT ads?
- Ads start after they pass review and your account, billing and verification are complete. Most of the work is the setup itself: verification, letting OpenAI's crawler reach your landing page, and writing ads and context hints for each ad group.
- Can I run ChatGPT ads from Shopify?
- Yes, for US stores. The ChatGPT Ads app for Shopify syncs your catalog, connects the OpenAI Pixel and can create product campaigns inside Shopify. Ads Manager still has more settings, such as budgets in any amount instead of $25 steps.
- Why is my ChatGPT ad not serving?
- The most common reasons are that it hasn't passed review, the account isn't verified, the campaign hit its budget or end date, or the card failed. Hover over Not serving in Ads Manager to see which, and check that OpenAI's crawler can open the landing page.
- What page should a ChatGPT ad link to?
- The page that answers the chat the ad shows in. OpenAI advises a product, collection or content page rather than a generic homepage, and it reads that page to decide when your ad fits. Replo builds and tests one for each ad group.